使用SQL Server 2016的Always Encrypt功能防止系統管理員讀取私密性資料
黃家瑞 Jerry Huang
- 精誠資訊/恆逸教育訓練中心-資深講師
- 技術分類:程式設計
在企業中,資訊的讀取是分層級有不同的權限,例如:人事部門主管才能檢視公司員工的人事薪資資料,其他像是產品的成本、客戶資料、廠商資料依據企業屬性不同,常會限制可以讀取或是修改的人員,必須是一定職位的人員才有權限。以往在沒有資訊系統的時代,這些資訊以各種方式進行保護,避免不在該職位的人員窺探這些資訊,然而在導入資訊系統後,這些資料在資料庫管理員(例如:SQL Server 具有sysadmin角色的login user)眼前卻都可以一覽無遺。
資料庫中可以設計密碼機制,讓密碼以密文方式存入資料庫中,使用者驗證時以相同的加密機制,驗證使用者身分的正確性。像是MD5加密的機制便是利用此一理論基礎。但是薪資、員工資料、產品價格、公司資料,這些需要運算或是解密的資訊,如以密文存入資料庫,運算時必須進行解密的運算,除了讓計算效率變得很不理想,也增加使用者的不便性(例如:計算公司薪資時,必須請人事主管輸入加密的密碼,運算時逐筆將薪資的數字解密再做加總)所有資料庫中的彙總函數,合計(SUM)、平均(AVG)、筆數(COUNT)、最大值(MAX)、最小值(MIN)等函數都必須以程式逐筆計算。不僅增加程式設計師的工作負荷,寫出來的系統效能也很差。
SQL Server 2016加入了一項新的功能Always Encrypt,用以解決這個問題:
首先準備兩台機器,這裡我以兩部在Hyper-V上的虛擬機器作為範例說明:
- 機器一、DB-Server
- 機器二、AP-Server
- DB-Server
- 防火牆 TCP:1433 Port開啟
- SSCM中TCP/IP通訊協定啟用中
- SSCM SQL Server Browser啟用中
- SQL Server 2016: (為方便講解,使用SQL Server 以及 Windows混合式驗證)
- SSMS 18.0(SSMS 16.5之前的版本僅支援查詢加密的資料,但不支援寫入加密欄位)
- AP-Server
- Visual Studio 2017
步驟一、在DB-Server上建立資料庫
利用以下T-SQL語法建立資料庫db01,新增資料表:
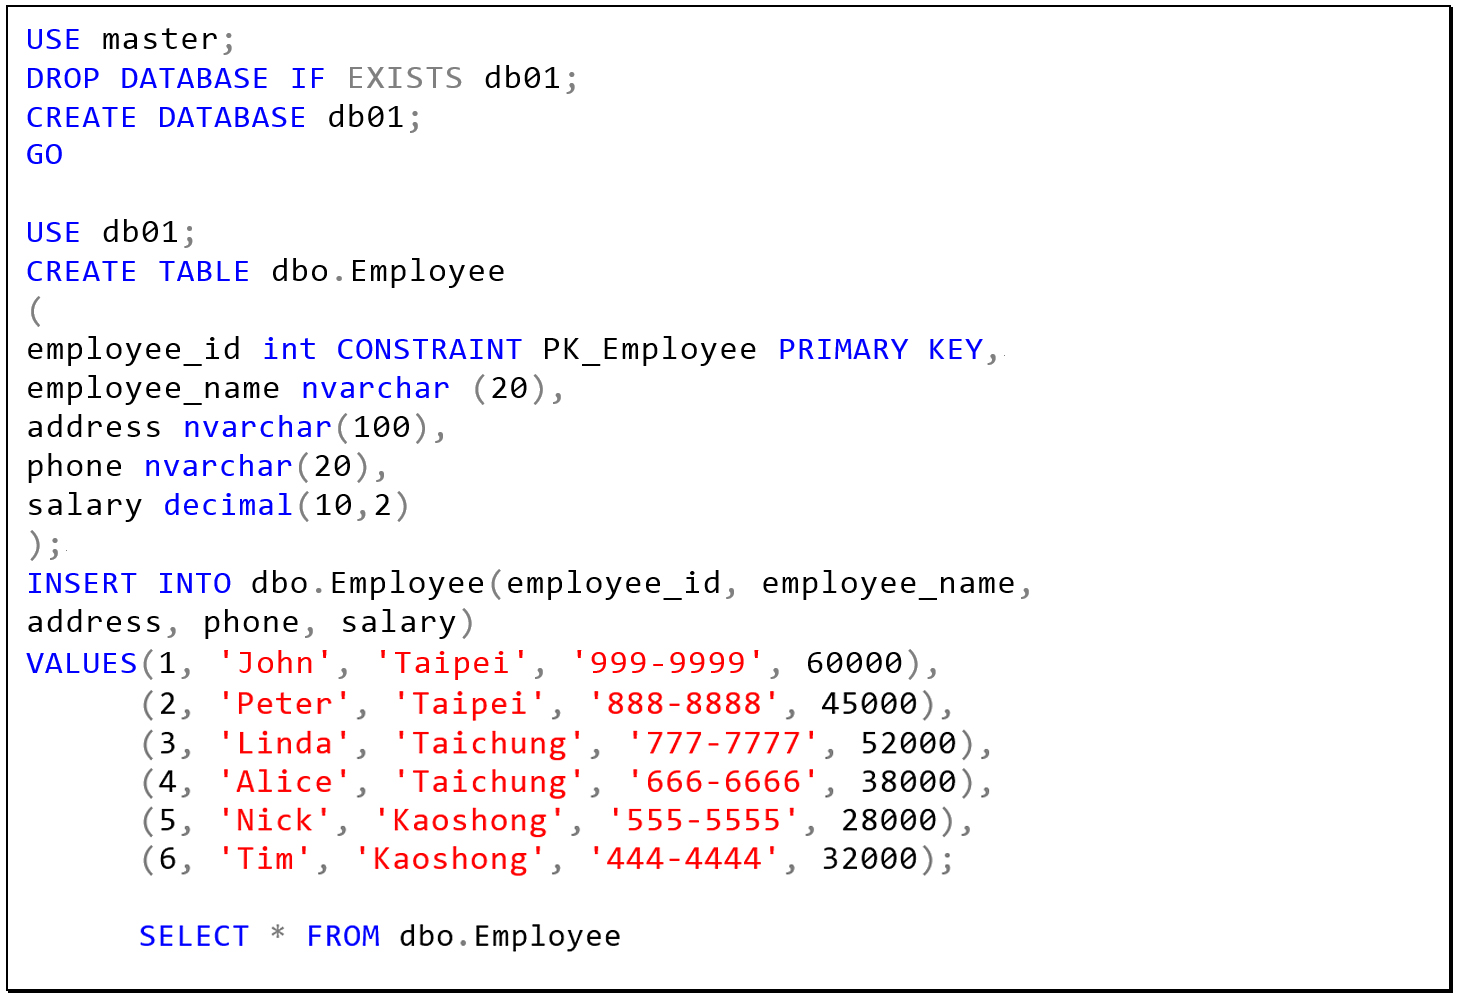
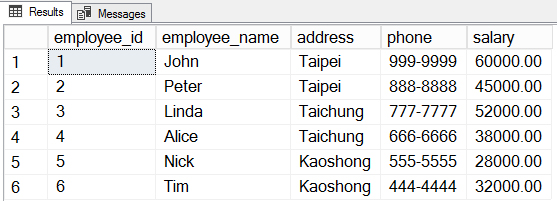
確認資料可以正常讀取。
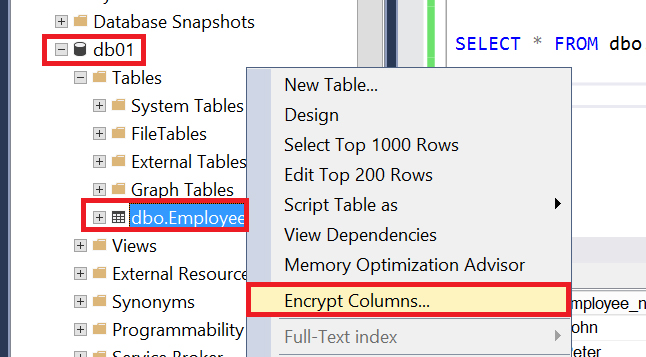
步驟二、利用SSMS在使用Always Encrypt
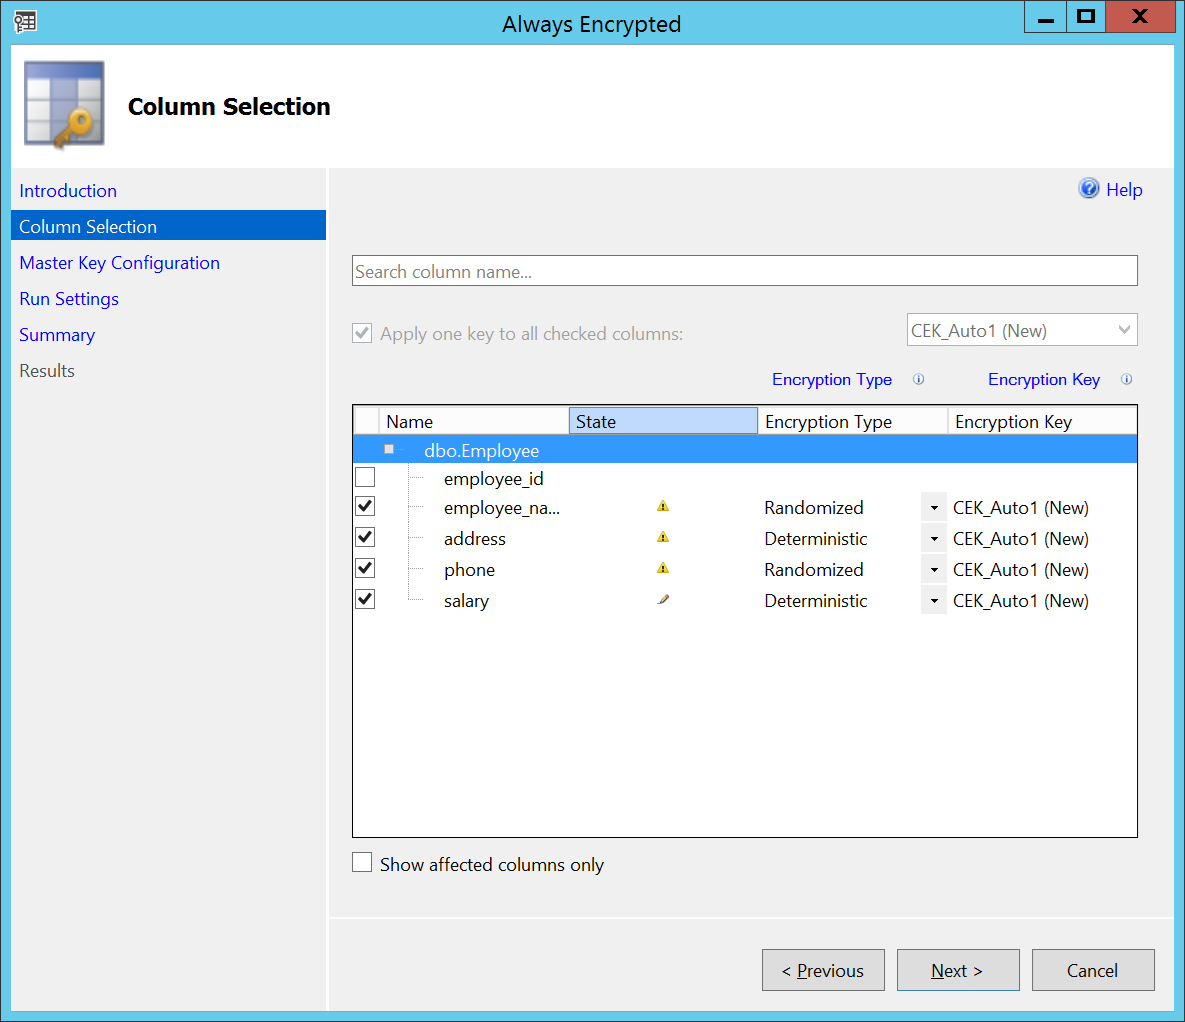
展開Object Explorer => Databases => db01上右鍵 => Encrypt Columns…
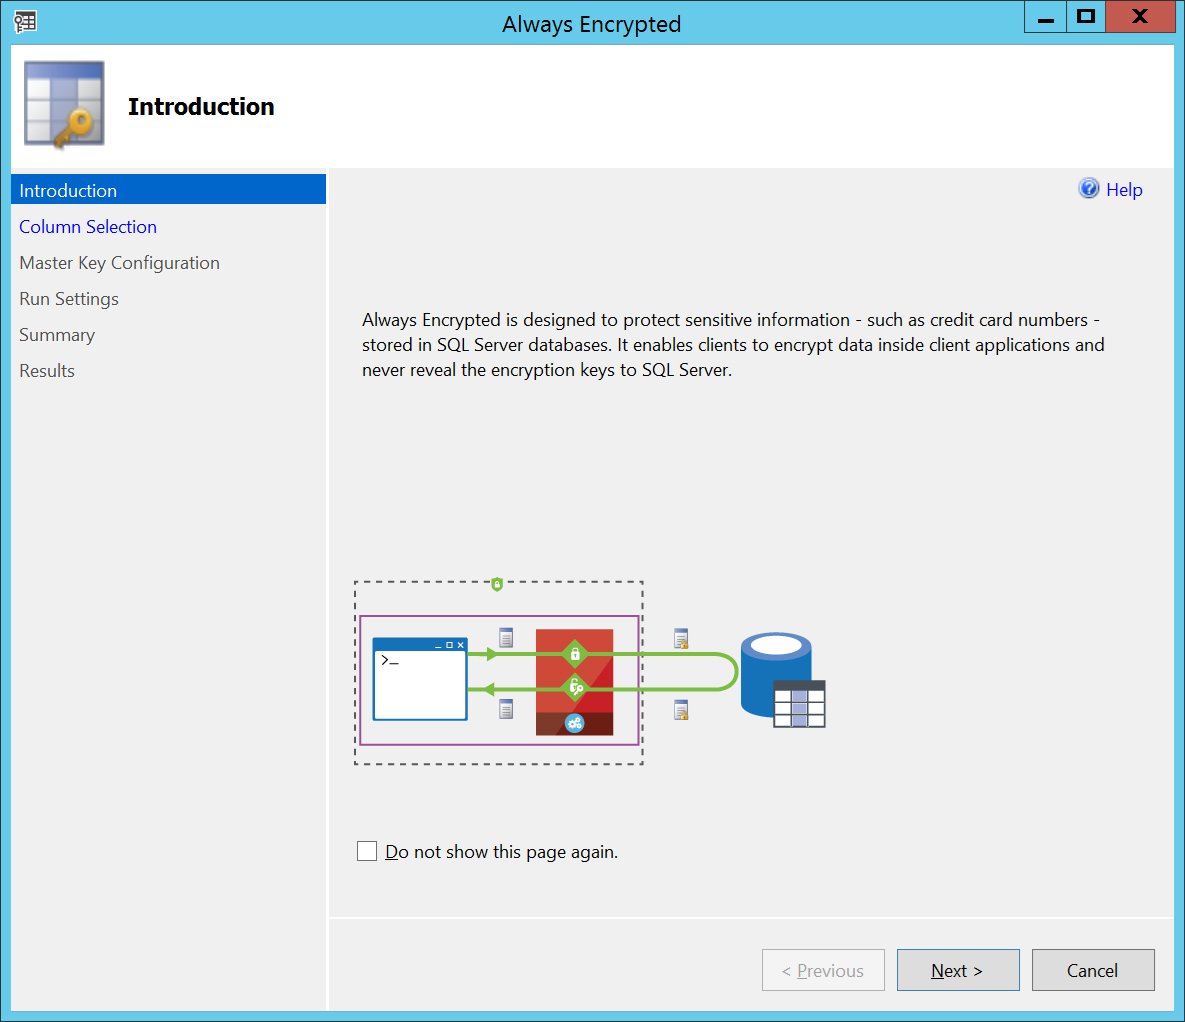
直接按Next
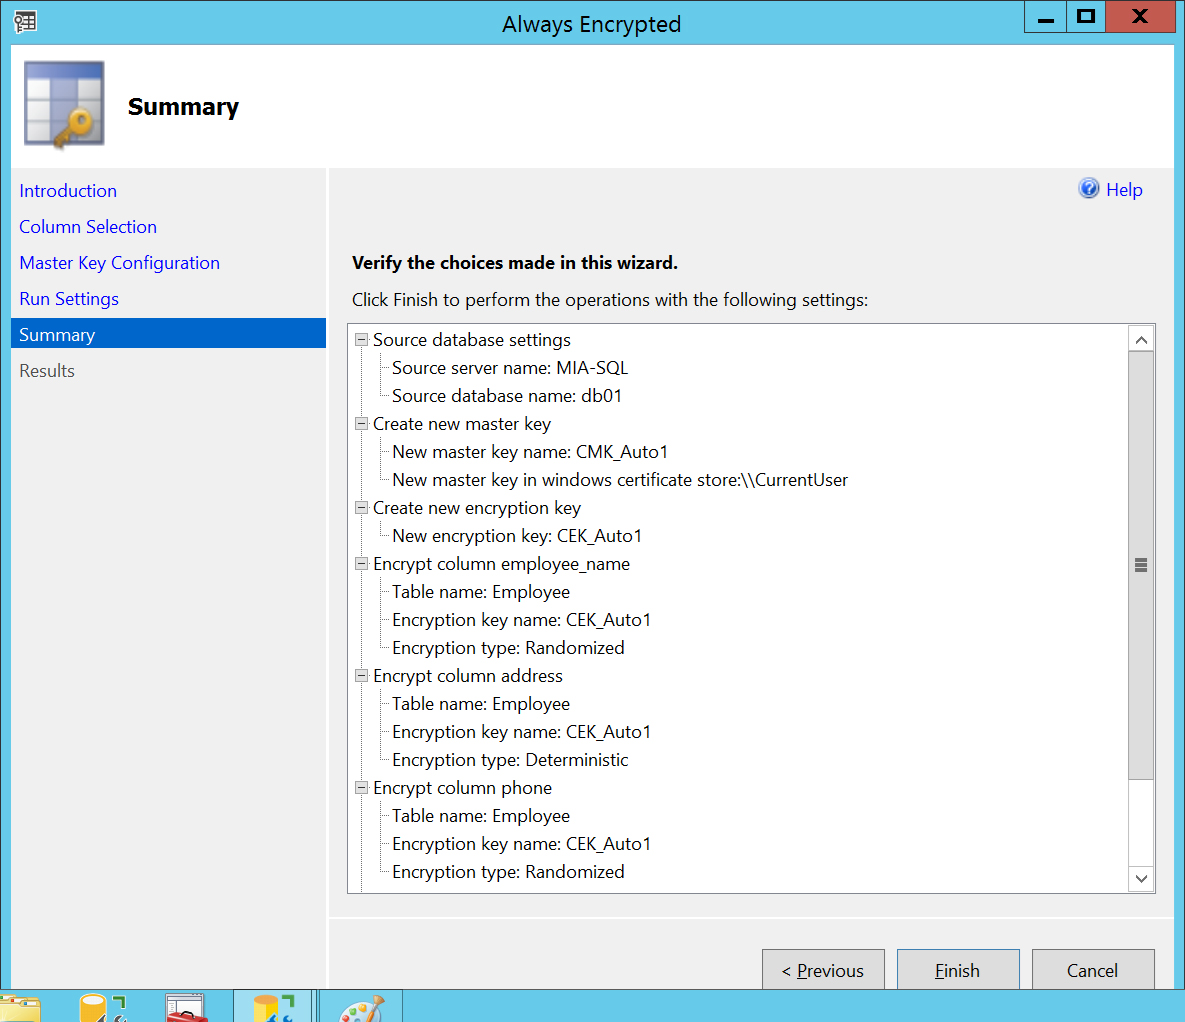
Encryption Type(加密方式)的設定上,分別在
- employee_name => Randomized
- address => Deterministic
- phone => Randomized
- salary => Deterministic
(Randomized加密方式,資料即使是相同的內容也會產撐出不同的加密文字。Deterministic加密方式,會對相相同料得到相同加密文字。因此,Deterministic的加密欄位還是可以使用DISTINCT、GROUP BY等語法統計有多少不相同資料,Randomized欄位則不支援這些SQL語法。)
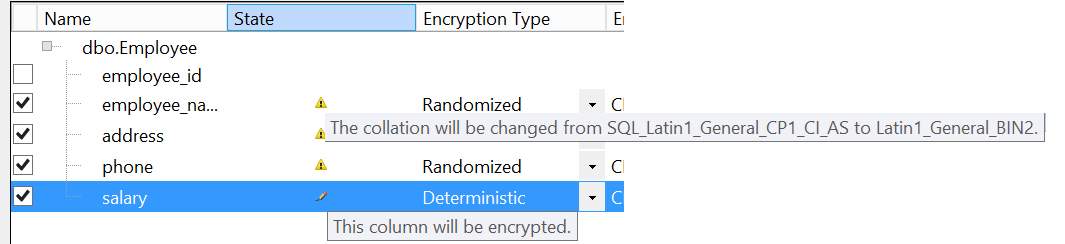
在驚嘆號的圖示下可以看一下文字欄位被改為SQL_Latin1_General_CP1_CI_AS定序。
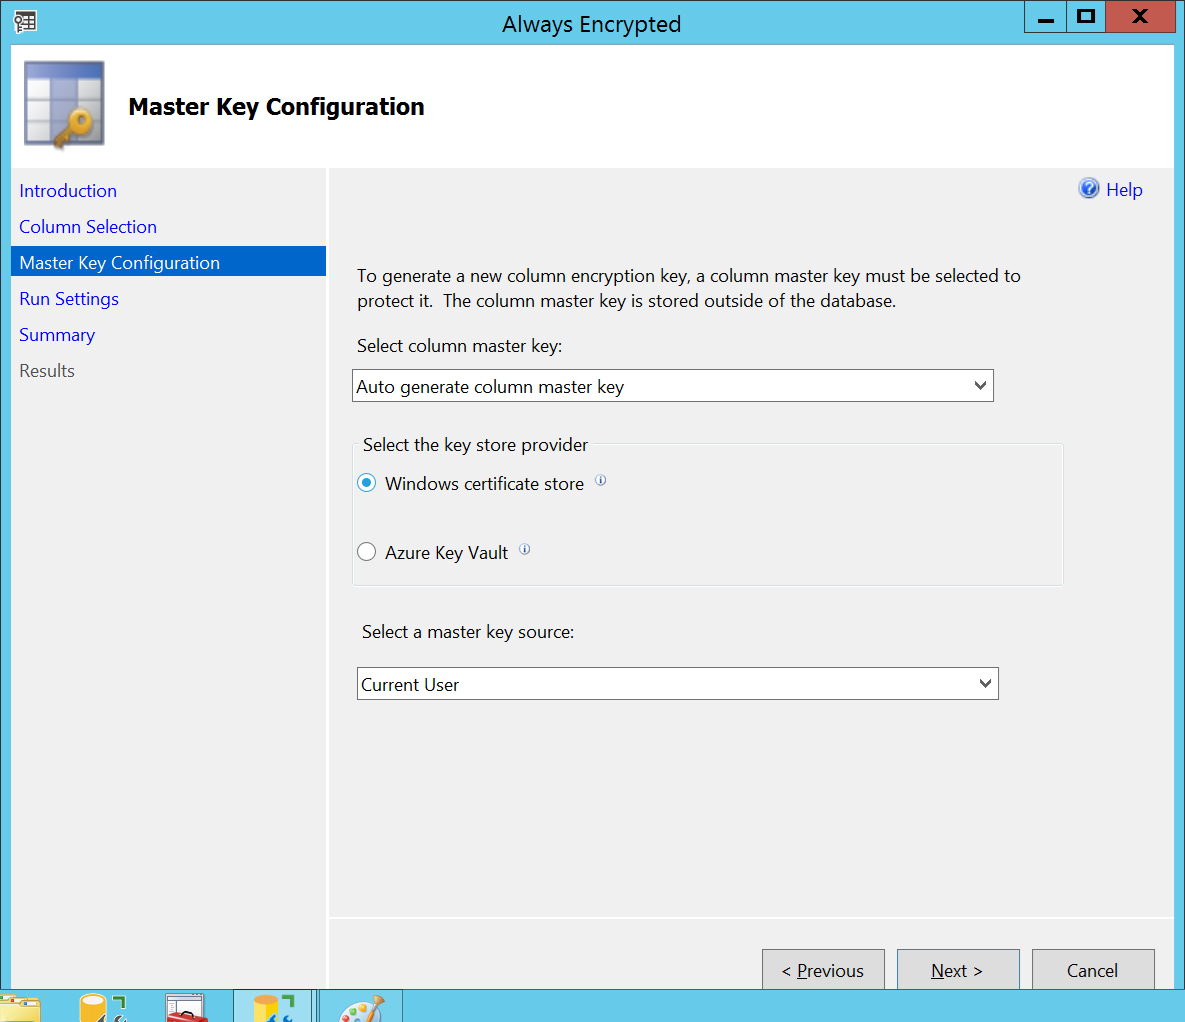
SSMS會自動在伺服器上建立憑證,以Master Key Configuration建立成Windows的憑證,接著按一下Next。
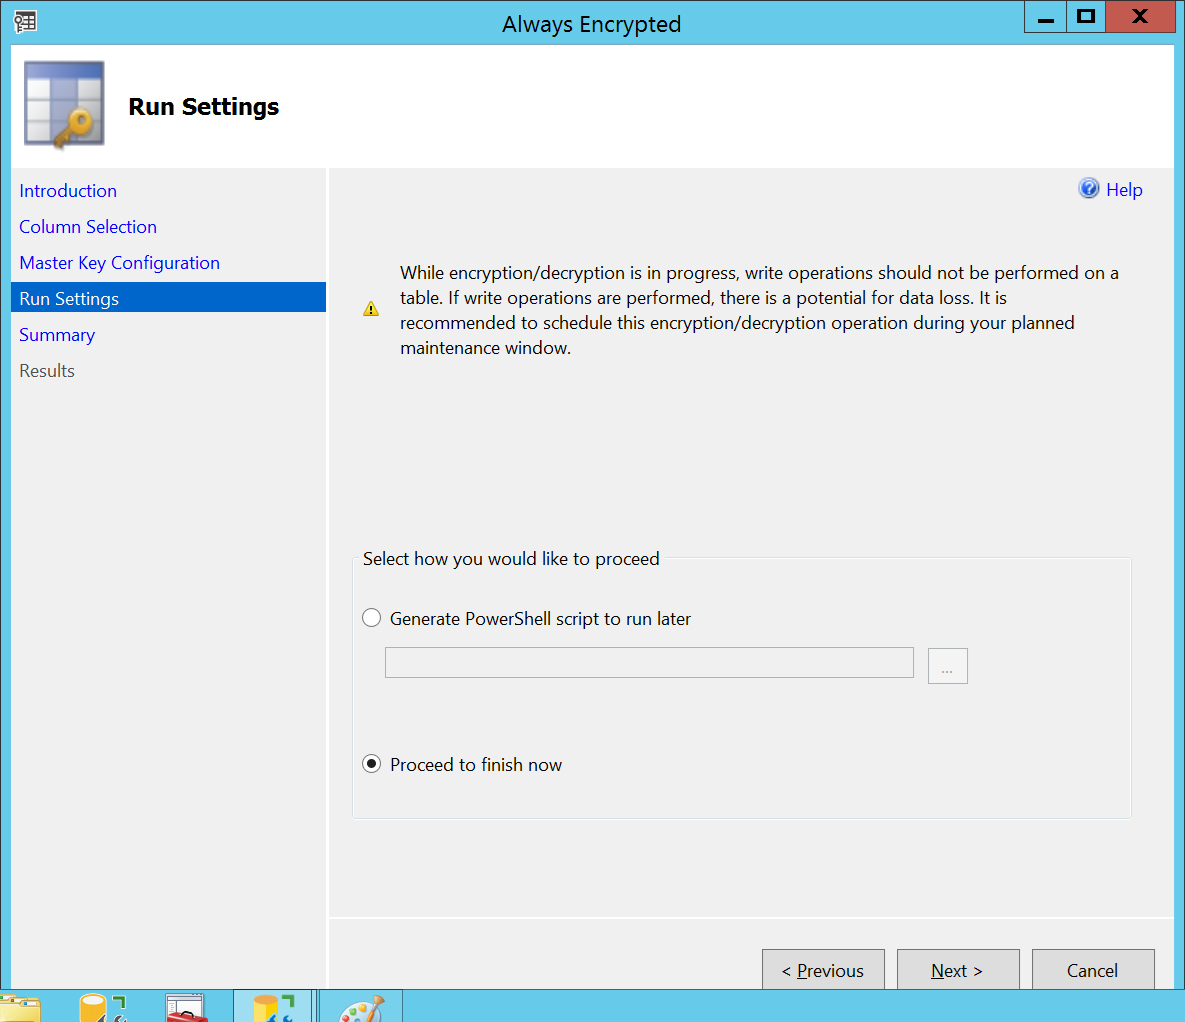
按一下Next執行
SSMS彙總出要執行的動作,按一下Finish開始執行。
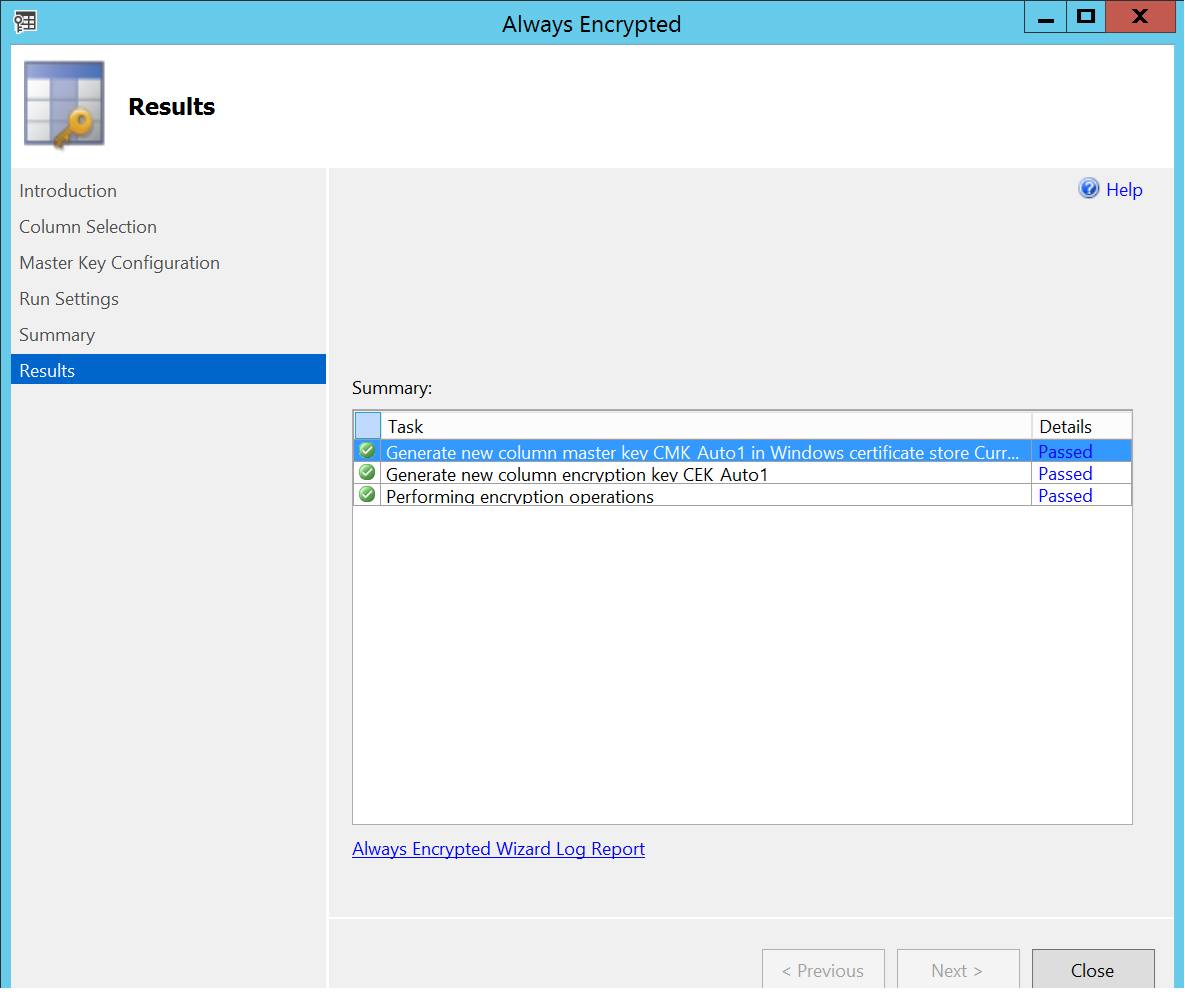
跑一段時間之後,出現綠色完成的圖示代表完成設定。
步驟三、用SSMS測試一下
在查詢介面中再一次查詢資料。

此時所看到的文字,就已被加密了。

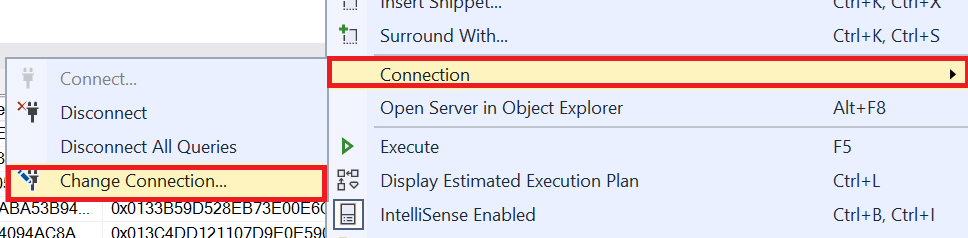
在SSMS的文字編輯器上按右鍵 => Change Connection => Connection
=> Change Connection
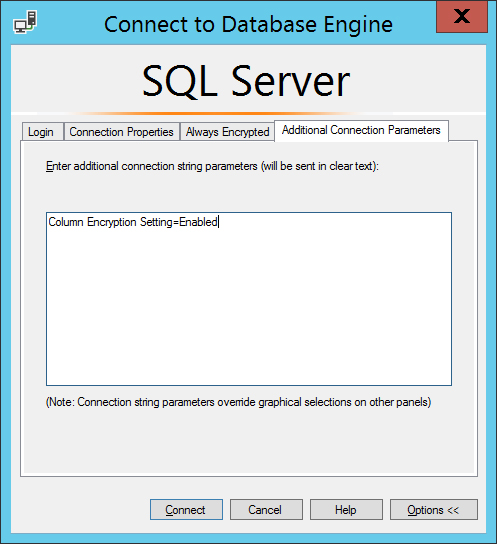
切換到Options >>
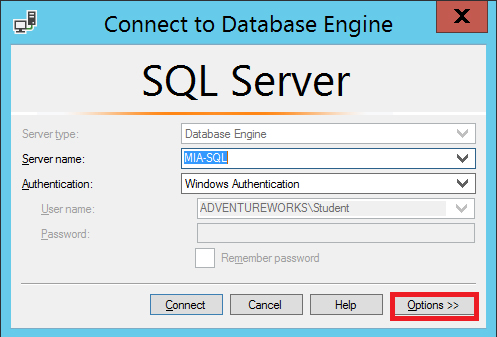
在Additional Connection Parameters的頁籤上加入「Column Encryption Setting = Enabled」,按下 Connect 重新連線。
在執行一次查詢的語法

這時又可以看到完整的資訊
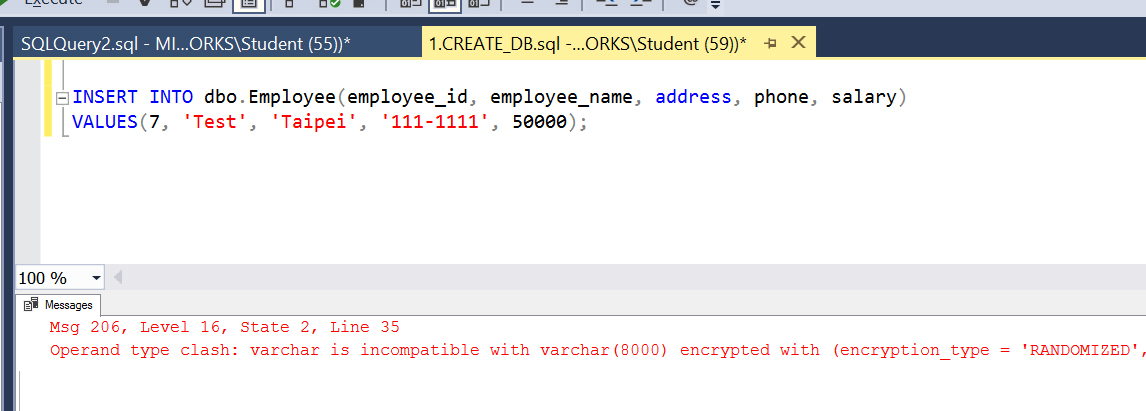
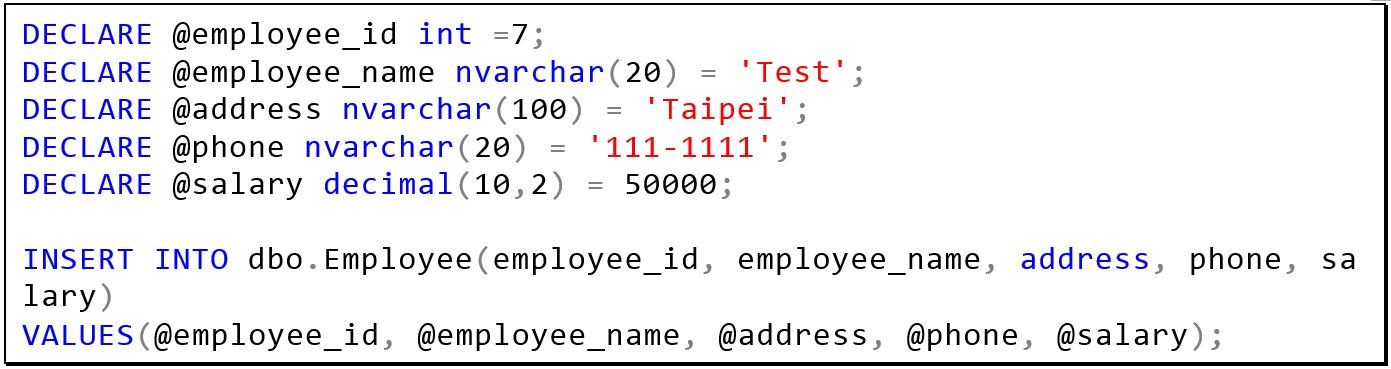
可是如果是新增的語法,以下面語法做測試

會看到以下的錯誤訊息
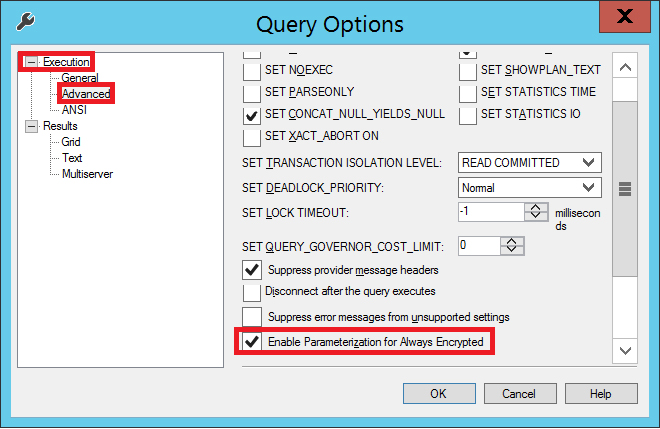
文字編輯器上按右鍵=>Query Options…
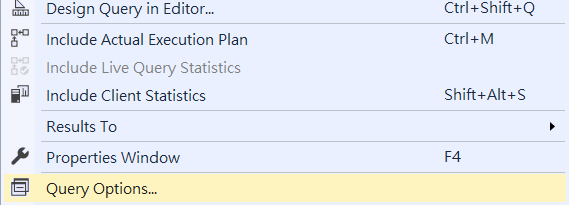
點選 Execution => Advanced 勾選 Enable Parameterization for Always Encrypted
使用以下語法執行
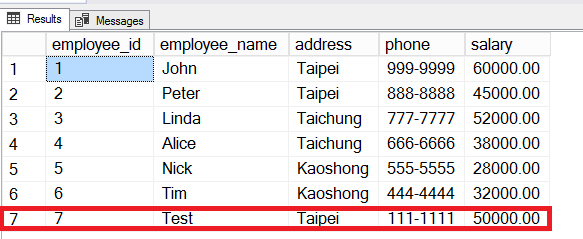
此時再一次查詢

資料已經寫入
步驟四、從DB-Server匯出憑證
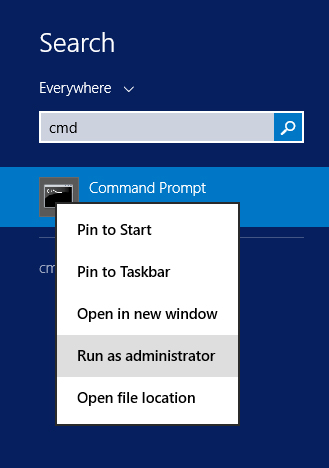
在DB-Server虛擬機器上,按下Windows鍵 + Q(快速搜尋),鍵入 cmd 在Command Prompt上按右鍵,執行Run asadministrator。

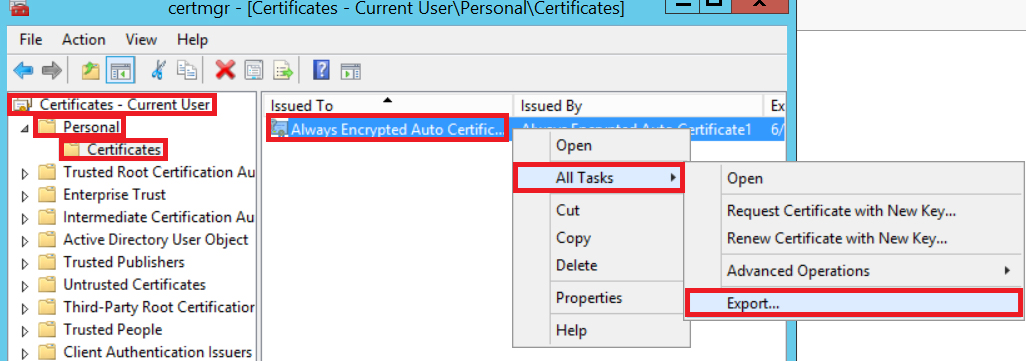
鍵入 certmgr 按 Enter

點選Certificates – Current User => Personal,在 Always Encrypted Auto Certificates上按右鍵=> All Tasks => Export… 匯出憑證
跳出歡迎畫面,直接按 Next 下一步
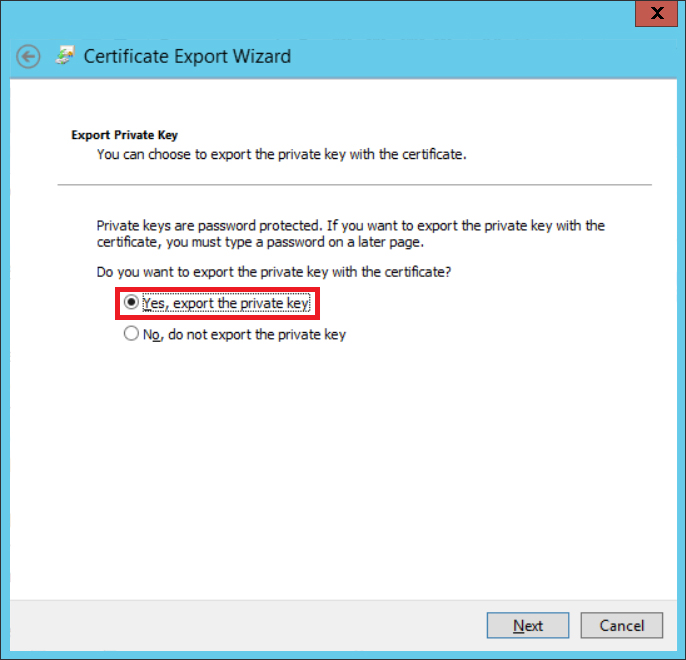
選擇 Yes, export the private key 按 Next 跳下一頁
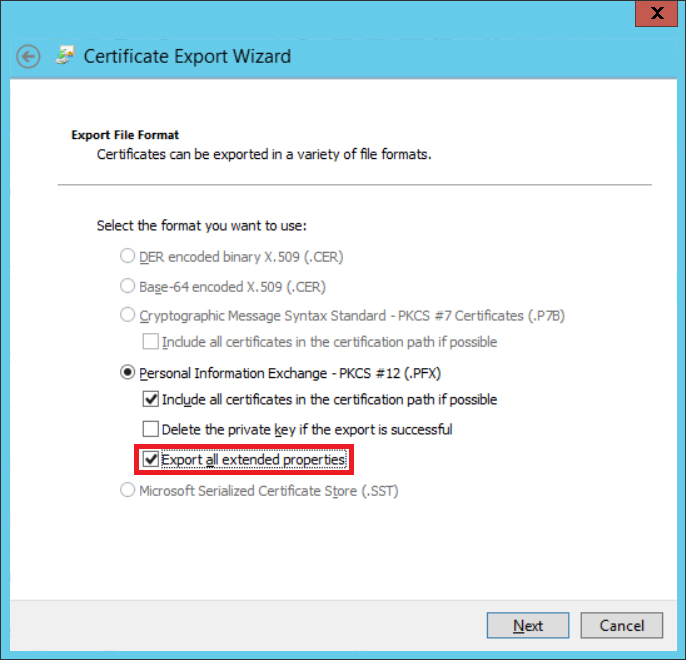
勾選Export all extended properties,按一下 Next
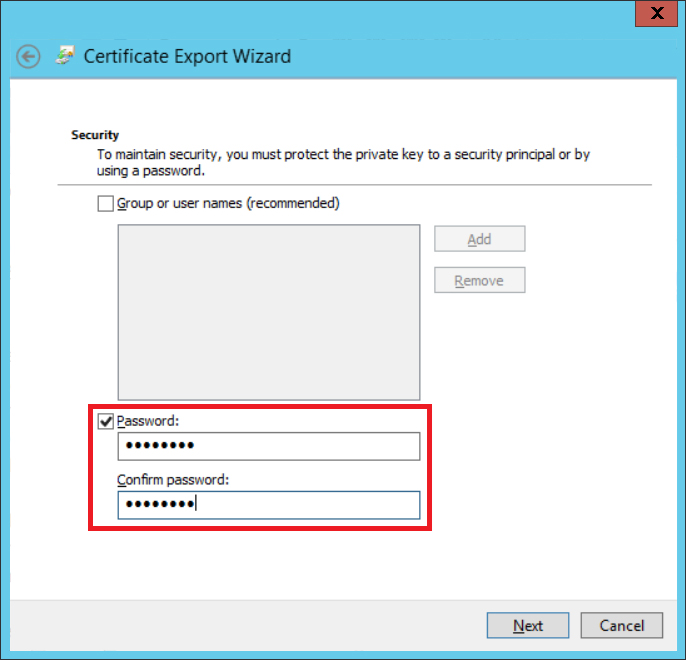
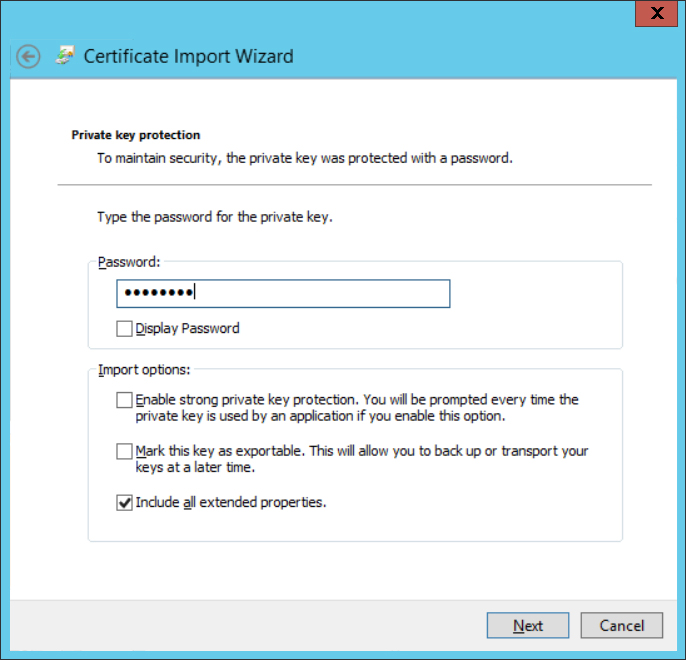
勾選Password,鍵入密碼,按一下 Next
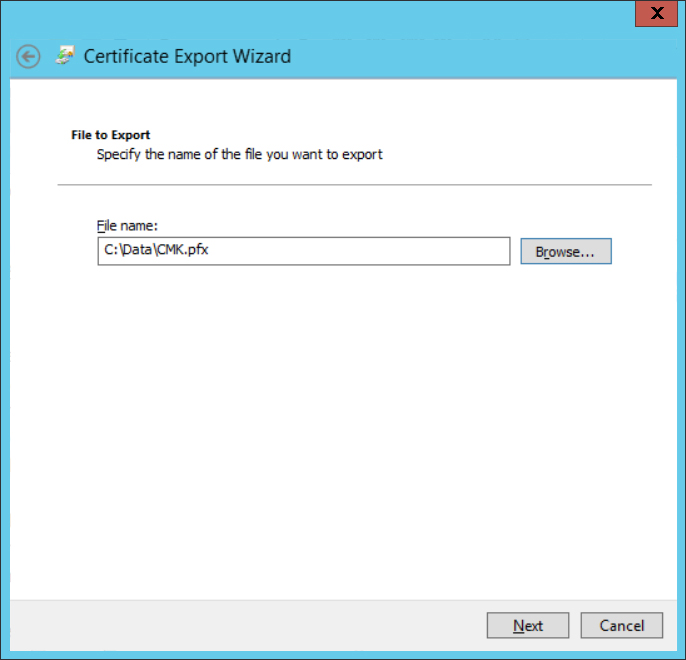
選取檔案位置,將憑證匯出到檔案
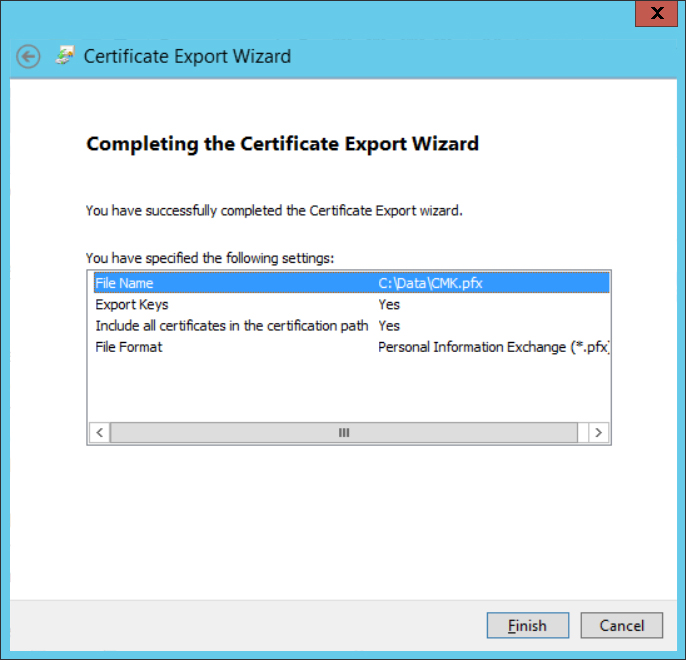
按 Finish 完成
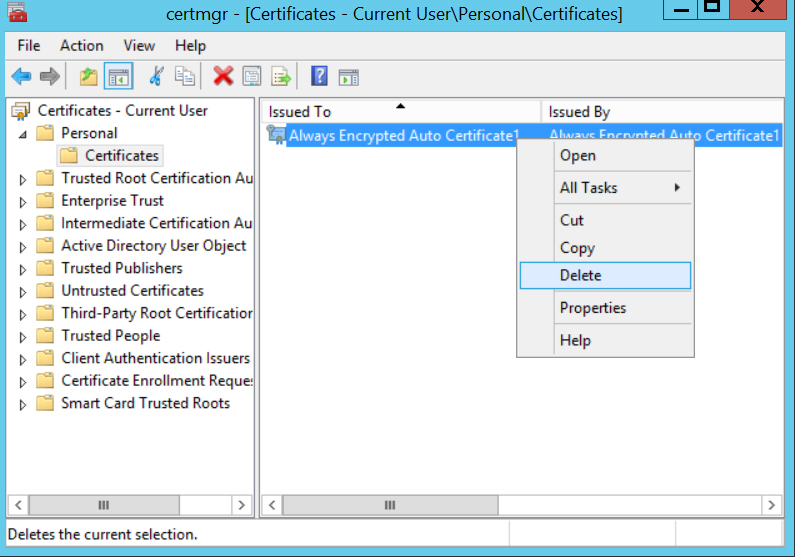
將憑證從 DB-Server上刪除
步驟五、在AP-Server上匯入憑證
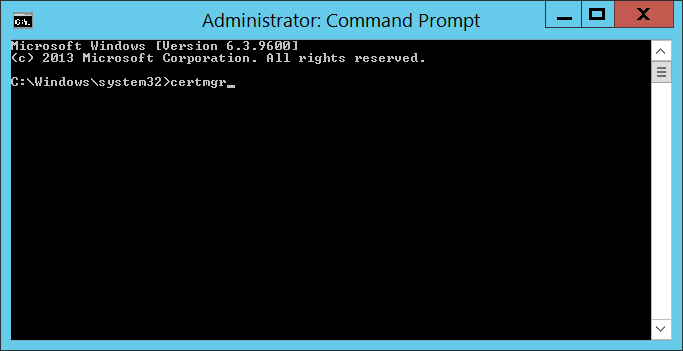
在AP-Server上,按下Windows鍵 + Q(快速搜尋),鍵入 cmd 在Command Prompt上按右鍵,執行Run as administrator。
鍵入 certmgr 按 Enter
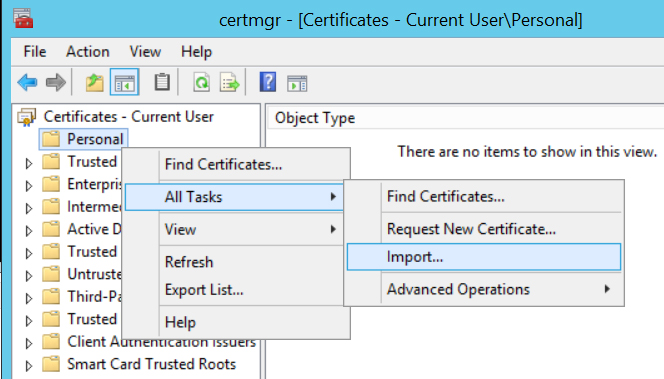
點選Certificates – Current User => Personal 上按右鍵=> All Tasks => Import…
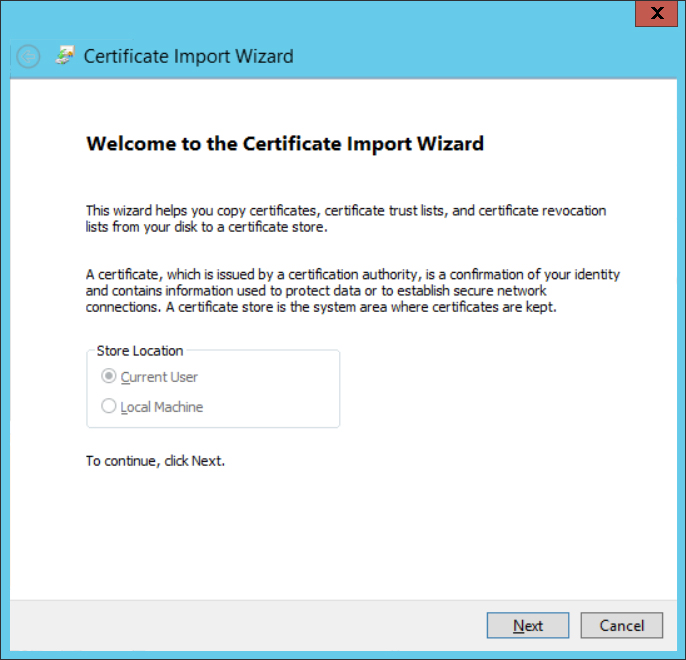
直接按 Next
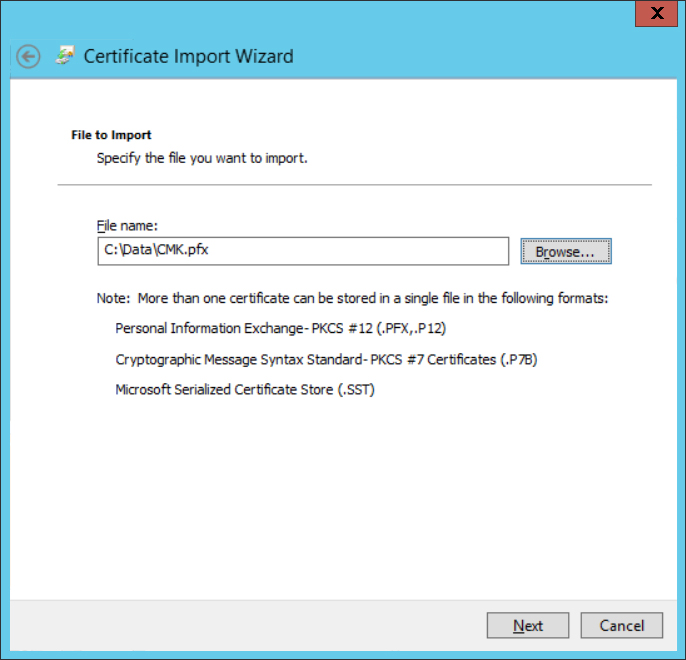
匯入由DB-Server憑證匯出的檔案
輸入密碼,按 Next
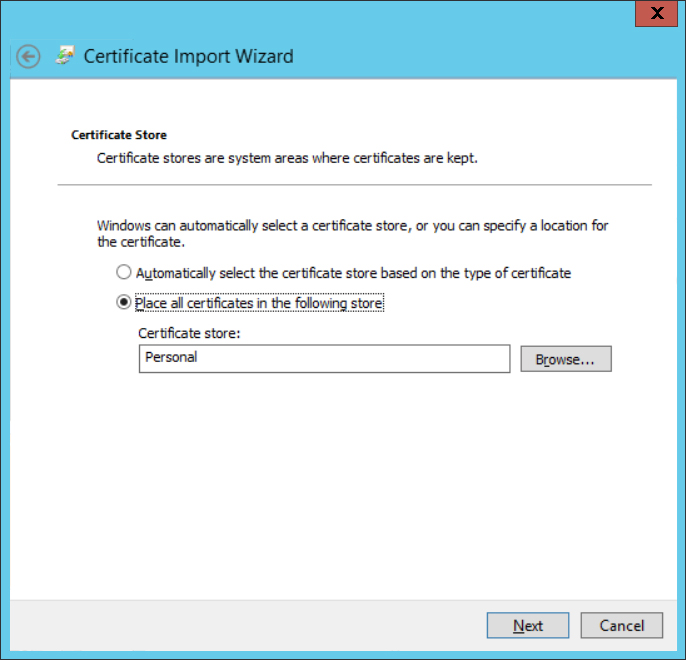
匯入儲存所在的位置 Personal(預設),按 Next
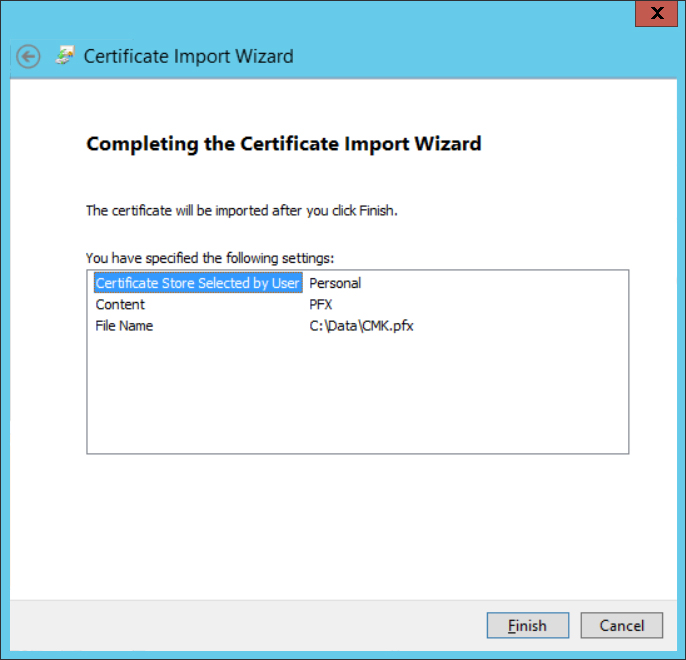
按下 Finish 完成匯入
步驟六、C#程式讀寫資料
撰寫一個簡易的Windows介面程式,畫面設計:
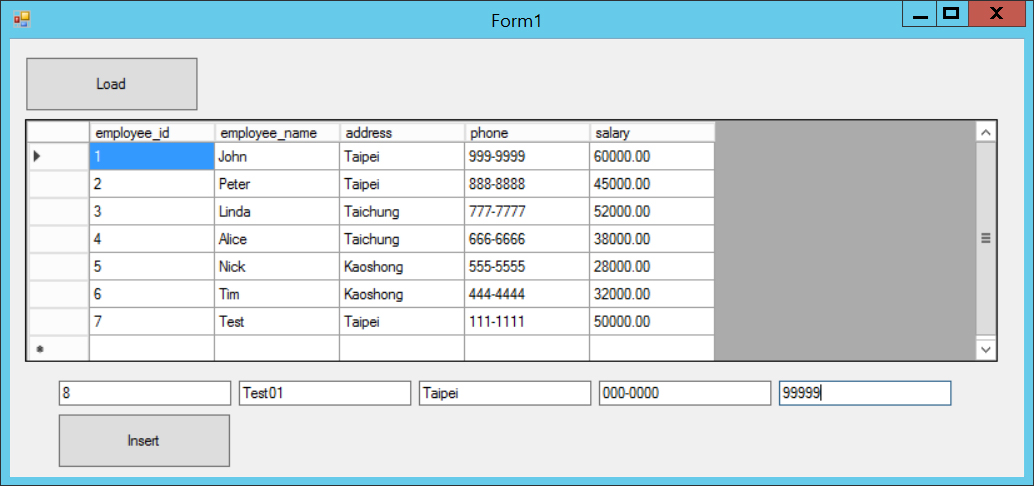
- Button: btnLoad, btnInsert
- DataGridView: drvData
- TextBox: txtID, txtName, txtAddress, txtPhone, txtSalary
程式碼如下:
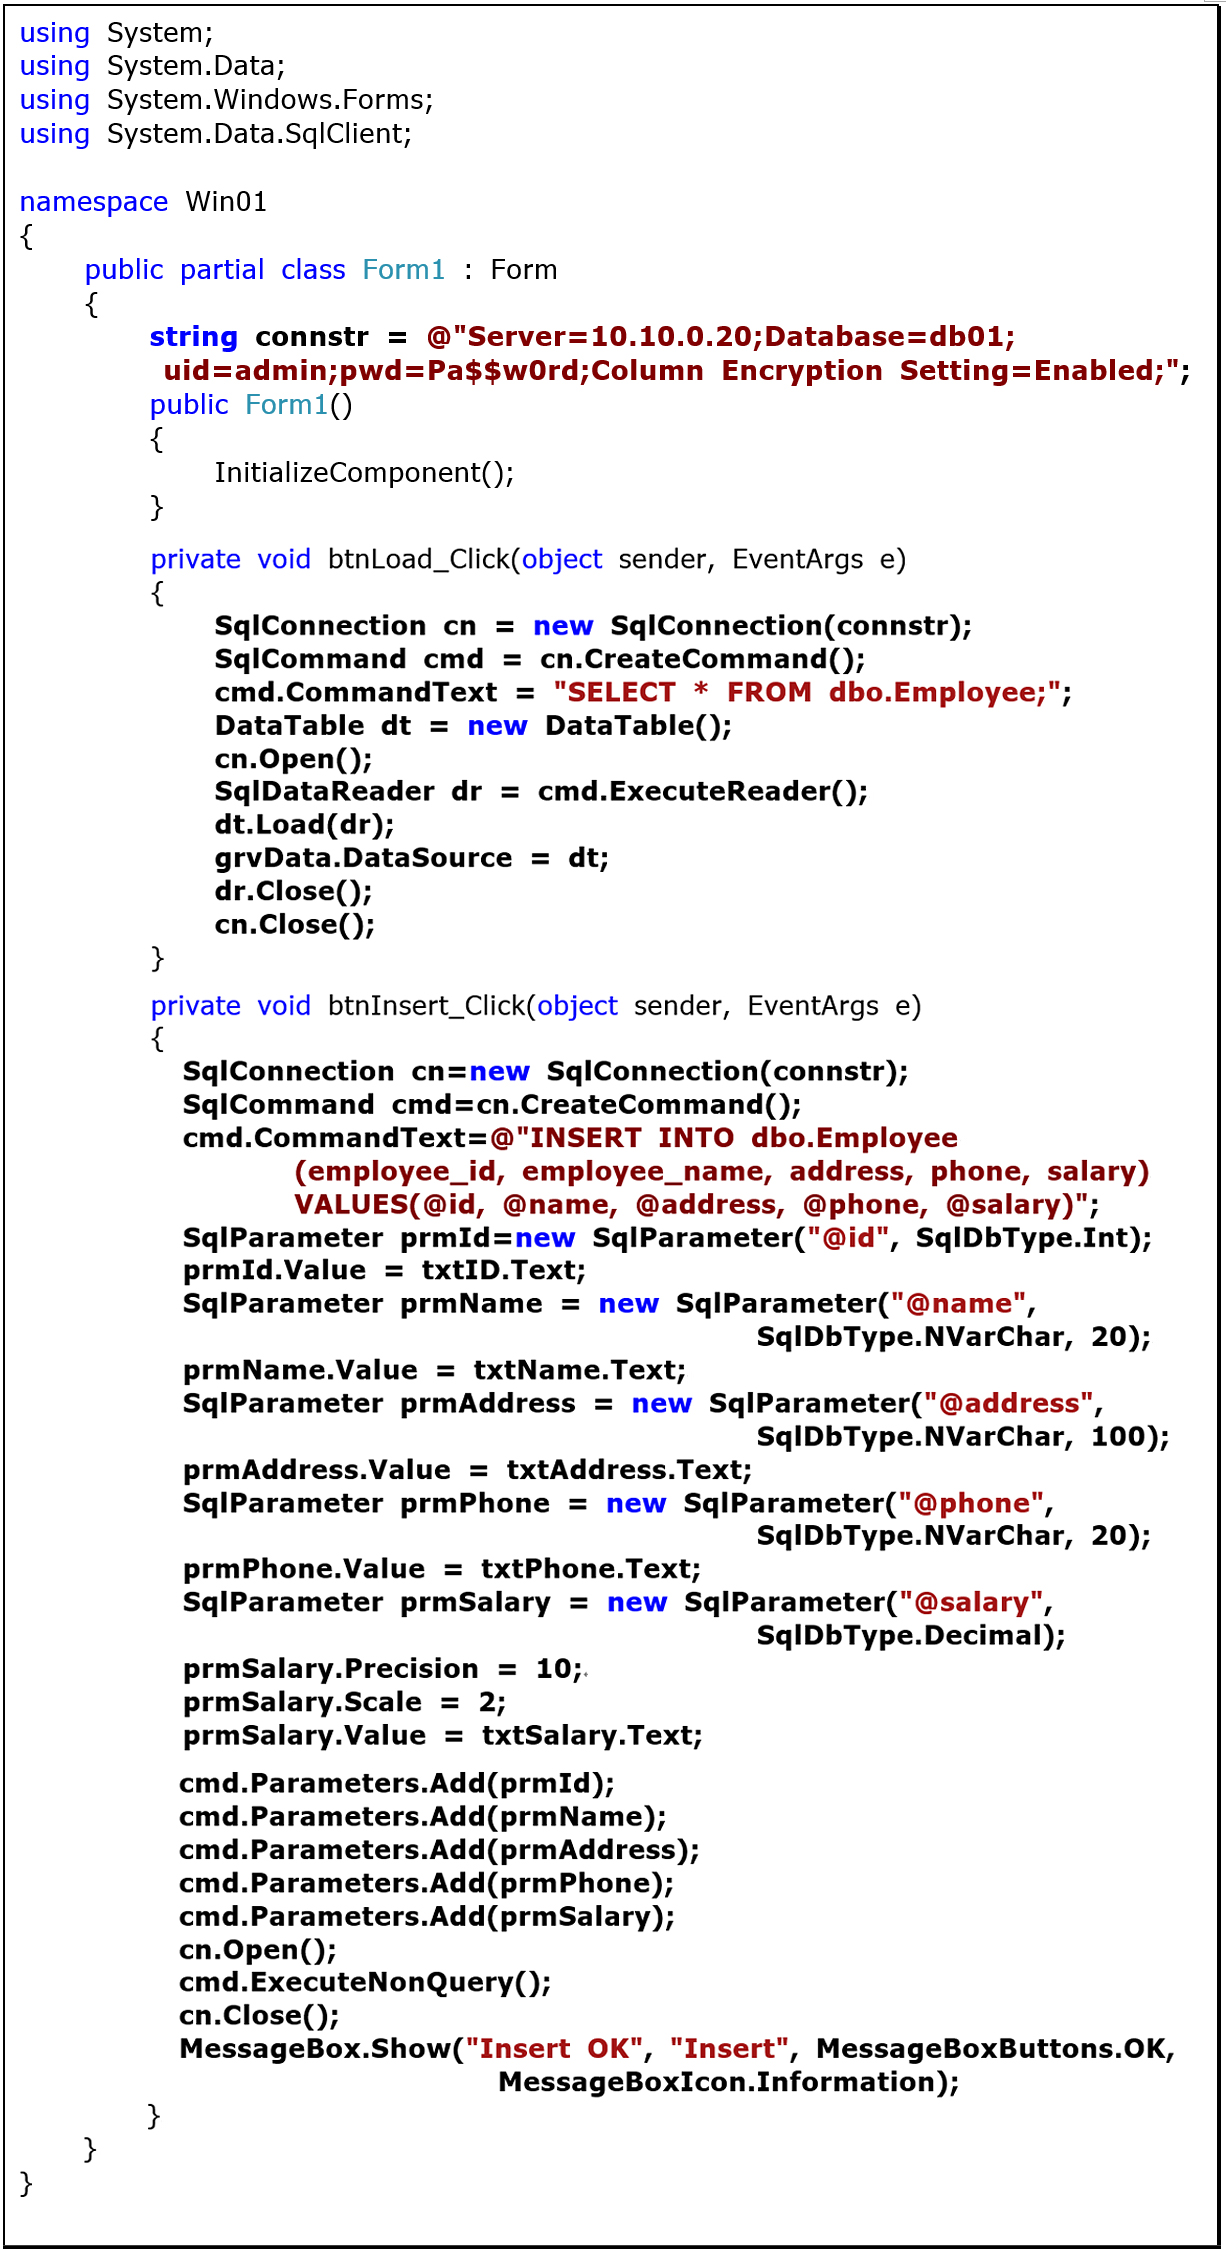
注意到連線字串

加入 Column Encryption Setting=Enabled,寫入的SQL語法中

參數的資料型別必須使用和資料表定義中的型別一致。
SQL Server 2016中新增的Always Encrypt讓資料僅能在應用程式端透過權限設計機制讓使用者讀取,避免資料庫管理員可以從資料庫伺服器中直接以T-SQL語法窺探私密性資料。